
|
|
#1 |
|
Did I offend you?
|
My Cj7 Build Buckminster
Ok we are making this thing a FREAK start it tuesday of this week. I will keep things updated on here and Carwash will on sigma motorsports, List of goodies as follows.
Front soa king pin chevy 60 behind axle high steer Rear 14 bolt chevy 4link with Ruff stuff spec disk brake conv set Gen right front link mount 1 1/4 in currie Johnny joints Blue torch fab Axle truss and pinion gaurd Fox 2.5 in air shocks New Sigma motorsports full custom cage with Front and rear seat tie in's Integrated propane tank mounts over wheel wells New front and rear Sigma Motorsports bumpers with d ring mounts and stinger New Sigma Motorsports Front tube fenders Rims and tires H1's 8 bolt Great lakes recenters and rock rings New 42x15x16.5 Pitbull rockers Built by Carwash Ford mustang Mineral gray paint on body with red cage That is the first part of the build. SOON to come Engine swap Trading the 50k mile built amc 304 for a Highly moded sbc 350 Transmition swap Trading the 3 speed for a rebuilt t400 auto Transfer case Trading factory dana 18 for a atlas transfer Rock sliders to tie in cage Add the gotpropane.com propane kit Cv joint front axle shafts Full spool rear locker Detroit locker front locker I am sure I am missing some stuff but its alot. I will post parts for sale in the for sale section on CORE If you want anything that comes off of it or coming off of it pm me for them. Thanks and enjoy 
__________________
Dont look @ me in that tone of voice or I WILL PUNCH YOU IN THE SHIRT! :mad: 
|
|
|

|
|
|
#2 |
|
Did I offend you?
|
Pics Buck
A few pics
__________________
Dont look @ me in that tone of voice or I WILL PUNCH YOU IN THE SHIRT! :mad: 
|
|
|

|
|
|
#3 |
|
Cleaning off the rust...
Join Date: Jan 2007
Location: Cincinnati, OH
Posts: 1,009
|
Nice, I'm sure CW will do her up right...
He helped me with BTF trusses...both 60 and 14bolt onto mine. I did have to shave a little casting flash off of the top of the 14... the clearance was very tight. Pinion support bolts, three bolts between the two pieces... all had to be just right... I can't wait to see the tube fenders.... (Make a jig CW!!) Seems like you could comp cut a little closer to the tailg... oh wait, that's the edge of the body mount isn't it? What travel 2.5" air shocks? (Boomhauer just got 16" that he's trying to fit under a comp cut, and mine are 18" but I don't have any body there anymore...  ) )I wanna know more about "Cv joint front axle shafts"... If the Dana18 is the large intermediate shaft version I might be interested... ps - I might have some deck expansion work for you...
__________________
brad  5.0L | 435 | 203 | 300 | 4.10 | 39.5 Buildup BACK underway... 
|
|
|

|
|
|
#4 |
|
Join Date: Aug 2009
Location: Springdale OH
Posts: 149
|
those tires look familiar lol they look great on a JK. Jeeps going to be Badass when you get it done
|
|
|

|
|
|
#5 | |||||
|
pimpin' IS easy
|
Quote:
Quote:
Quote:
Quote:
Quote:
__________________
|
|||||
|
|

|
|
|
#6 |
|
Tiny Member
Join Date: Jan 2007
Location: Colerain
Posts: 798
|
Sounds like one hell of a parts list...should be a very capable rig.
Any ideas on wheelbase..belly height and the rest ? |
|
|

|
|
|
#7 |
|
Did I offend you?
|
No clue yet. I want to keep it wide and low slung. the soa in the front is going to make that up for us. and width im just not sure on yet
__________________
Dont look @ me in that tone of voice or I WILL PUNCH YOU IN THE SHIRT! :mad: 
|
|
|

|
|
|
#8 |
|
Did I offend you?
|
Some more for ya
Came along well this week! We are gona have a tonn done for next week. All the backordered parts come in and or ship monday.
 This work is all done at Sigma Motorsports!!! Carwash is the man hit him up and get him to build somthing for you!! This work is all done at Sigma Motorsports!!! Carwash is the man hit him up and get him to build somthing for you!!
__________________
Dont look @ me in that tone of voice or I WILL PUNCH YOU IN THE SHIRT! :mad: 
|
|
|

|
|
|
#9 |
|
Did I offend you?
|
One more
one more for ya

__________________
Dont look @ me in that tone of voice or I WILL PUNCH YOU IN THE SHIRT! :mad: 
|
|
|

|
|
|
#10 |
|
Join Date: Apr 2007
Location: van wert oh
Posts: 583
|
joey's running rcv's on teh new buggy him and butch are making. those things are sweet.
hell of a parts list, looks good.
__________________
zuk buggy.....it'll be a jeep eventually. |
|
|

|
|
|
#11 |
|
Did I offend you?
|
This week we got alot done, Propane installed and running, got the hummers done and rolling, fininshed up the four link and installed 18 fox air shocks, they didnt like the frame were it was so it had to go. pics
__________________
Dont look @ me in that tone of voice or I WILL PUNCH YOU IN THE SHIRT! :mad: 
|
|
|

|
|
|
#12 |
|
looking good brother... tires look even better on it...
can't wait to see it on the trail... 
__________________
 chris hodges
96 fzj80 3x locked, 4"lift, 37s, homebrew sliders and bumpers,a work in progress 71 fj55, SOA, locked...The jungle bus... retired |
|
|
|

|
|
|
#13 |
|
Cleaning off the rust...
Join Date: Jan 2007
Location: Cincinnati, OH
Posts: 1,009
|
Nice "Islander" door...
Great progress, and post up the numbers for the 4-link... please. And I don't think I ever answered this... the 3 bolts for the 14bolt BTF truss... I vaguely remember drilling one side... but by the time CW saw it they were done...
__________________
brad  5.0L | 435 | 203 | 300 | 4.10 | 39.5 Buildup BACK underway... 
|
|
|

|
|
|
#14 |
|
pimpin' IS easy
|
Yeah, after getting it on and placing the truss and pinion guard where it went, it became evident that there was really only 1 place the holes could end up if you wanted the two plates to sit flat against each other. Odd to me that they didn't predrill them...
__________________
|
|
|

|
|
|
#15 | |
|
pimpin' IS easy
|
Quote:
 This is the best I could get it... I was limited on the vertical separation at the axle by the truss itself and lower mounts. Vertical separation at the frame is set at max. It has 4 other positions, but none of them yielded any better numbers. What helps quite a bit is the 10-12 degrees i got on the lowers with these brackets. While it's not a completely dual triangulated setup, it does have some on teh lowers which should stablilize it quite a bit and reduce the crab a little bit. Anyways, it is what it is. 4 link numbers can be analyzed for days and changed here and there. And what looks good on paper doesn't mean **** once you try it out in real life, really. When i did the 4 link on the pumpkin 49 years ago, i just put **** where it looked right. And it worked awesome. LAter when i came across the 4 link calculator, i put the numbers in, and as far as the program says, the rig shouldn't even have worked at all. so, don't get too caught up in your numbers here, or make insane changes to your build and design just to get a couple more digits higher on you Anti Squat, ore whatever...
__________________
|
|
|
|

|
|
|
#16 |
|
Did I offend you?
|
[QUOTE=KargoMaster;36614]Nice "Islander" door...
Mike wants me to paint it that way and keep the stickers, he is gay like that i think. 
__________________
Dont look @ me in that tone of voice or I WILL PUNCH YOU IN THE SHIRT! :mad: 
Last edited by jwend; 04-06-2010 at 08:16 AM. |
|
|

|
|
|
#17 |
|
pimpin' IS easy
|
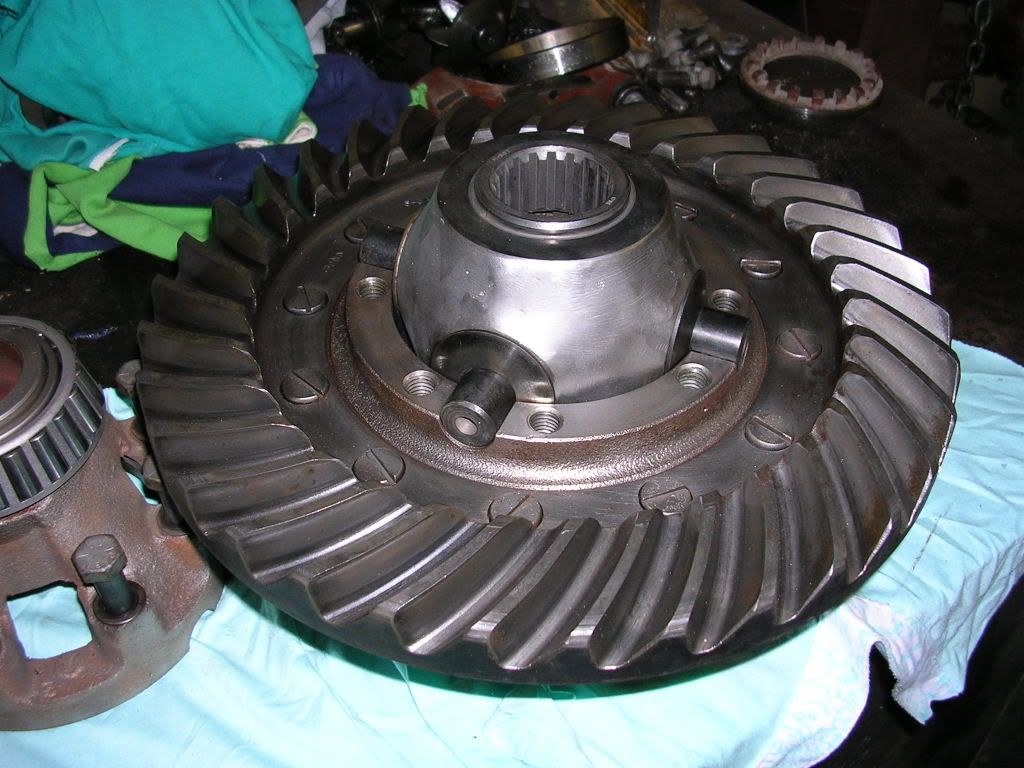
Ok... rear spool installed. 14 bolt mini spool from Ouverson Engineering. Kinda funny to call it a mini, it's fawking huge and weighs like 20 pounds... Better than any other 14b spool out there due to it being one piece, has new crosspins built in, etc. Well worth the money spent. He needs to make make more s hit for the 14b and 60.
  Rear frame cut off and replaced with tube. clears the air shocks and tuck up there real nice.    Rear bumper tied to the new frame thru the body. Rear bar is .250 wall.    Feet on the rear frame to serve as body mounts. Flange tabs to be used to bolt tub to frame. C pillar points will be tied in as well back there.  Tomorrow, tube fenders, etc.
__________________
|
|
|

|
|
|
#18 |
|
Join Date: Aug 2009
Location: Springdale OH
Posts: 149
|
looks nice..carwash you do some awesome work
|
|
|

|
|
|
#21 |
|
Did I offend you?
|
just feeling better. if you weld it whenever you hear a pop or crack you are worried you are going to lose your rear end. In the past i have always had a welded rear and it worked great but man if you crack or chip a weld and it gets in your gears bearings etc you are done. you can buy a mini for as little as 75$ and its worth it. I just bought the best one i could find because well look at the build. didnt want to do it twice. That mini is as good as a full spool so no minus a regear my rear end is rebuildable and done.
__________________
Dont look @ me in that tone of voice or I WILL PUNCH YOU IN THE SHIRT! :mad: 
|
|
|

|
|
|
#22 |
|
EX-Vice President
|
Looking good!
__________________

|
|
|

|
|
|
#23 |
|
pimpin' IS easy
|
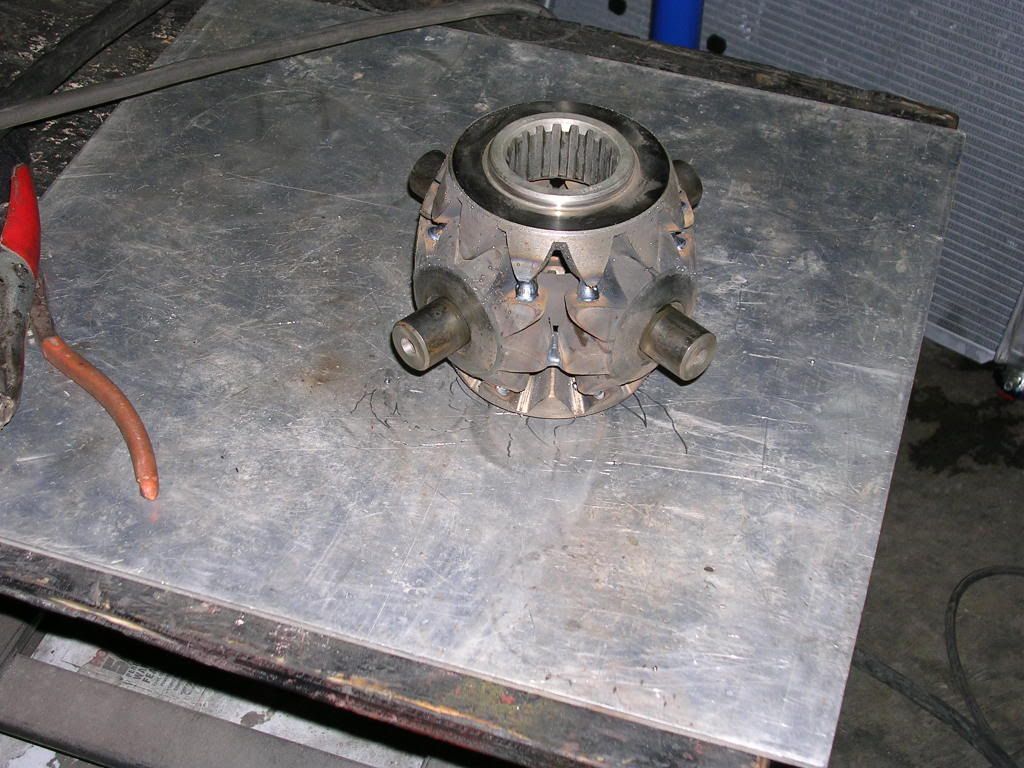
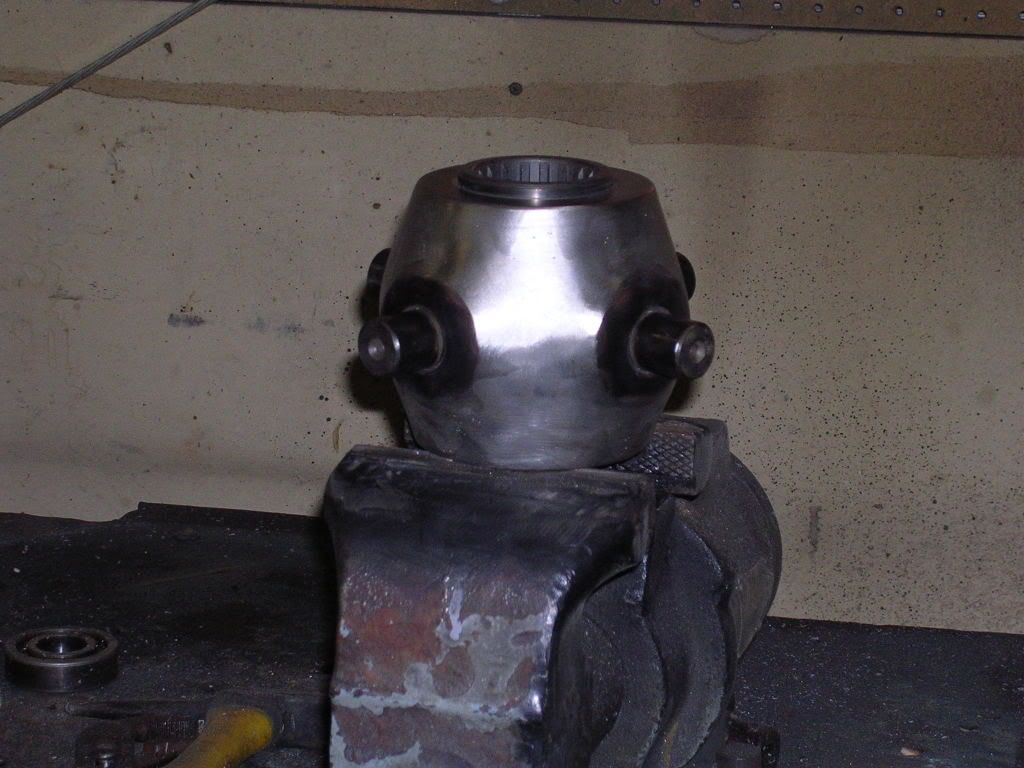
Yeah, welded works... but have a small piece of weld come loose, and your day is done, and you will be spending a hell of a lot more than the $200 the spool cost.
The only welded spiders i like are when guys make them look like a spool when they are done...lemme find a pic... Now THIS is welded spiders...   
__________________
|
|
|

|
|
|
#24 |
|
EX-Vice President
|
Holy crap that looks like a lot of time, weld wire and electricity. Not sure it saved much money in the end. What was the rockwell (hardness) rating on that when it was completed? May have turned into glass!

__________________

|
|
|

|
 |
|
|