If this is your first visit, be sure to
check out the FAQ by clicking the
link above. You may have to register
before you can post: click the register link above to proceed. To start viewing messages,
select the forum that you want to visit from the selection below.
working on it all day friday, monday and tuesday... hope to get a TON don on it. My big goal is to have axles built and wheel and tires on by end of day monday...
Now lets mount some tires. I didn't cut my magnesium runflats. didn't think it was necessary. I have roughly 10" or more of air pocket between the tread and the runflat. I never cut them when i used to run 40" tires and never had any issues. Didn't feel like spending a day cutting the things down... so there you have it. Hopefully my laziness doesn't screw me in the long run.
I find it easiest to set the bottom shell on a 5 gallon bucket. This lets the tire fall down low to let the bottom bead seat on the inner shell. I set the bottom shell on, then put on the NEW o-ring... i don't believe in reusing them... not worth having to break one of these bastards down twice, i'd rather spend the $5 and have some peace of mind.
i grease the o-ring lightly with normal bearing grease. Just the thinnest coat, to allow it to move around and seat where it needs to be.
Then on goes the outer ring. (don't forget to put in your new valve stem... don't ask me why i have to put that helpful tip there...) Work my way around the ring with my lifesaving cordless impact. Took me about an hour and a half to build all 4 wheels. All are holding air so far, no reason they shouldn't be. Clean surfaces and new o-rings.
Got the chunks into both axles as well, and buttoned down the rear. Axles in and tires on for a nice visual.
Rear tires are further thing back on the buggy, by about 4 inches or so. Good departure angle for sure, about -5 degrees.
It's nice just to see the rear axle sitting on rubber instead of stands.
about 88.5" outside of tire width in the rear. Not too wide i guess. Tires sit almost right on the outside of the body... man that's gonna sling some mud.
Here is some quality USA 6x6 work... they sure are some good welders out there.... There are their kingpin mounted boot guards. Had to go to them, couldn't get them from anyone else, and didn't have time or energy to make my own... wish i had just done it myself now, as i had to do quite a bit of welding repair on these as well. Not sure what monkey ass they have welding there, but they need to get some skoolin'.
Hammered out my kingpin bushings and pressed in new ones. Now of course they won't go on. I have heard all kinds of answers to this, need to find a real source of knowledge on how tight these should be on the kingpins. Anyone?
Pulled all the spindle studs from the knuckles, as to clear the wheel studs since i am going to run hubs flipped in. Picked up the 3/8x1" bolts to replace them with.
Here is a nice series of pics showing the clearance issues between these two items. I set a hub on the table, threw a bearing in the race and dropped the spindle in. The first pics are of the wheels studs, new and unmolested. then shots of them ground down, and showing the clearance.
Nice work!! It looks like an entire different animal with tires on it! It's going to be a beast!
'84 Cherokee body welded to an '86 Blazer frame , fuel injected 350, 700r4 trans, np208 t-case, 44 front and a welded 14 bolt in the rear on 35" boggers, radiator in the rear, and a full cage
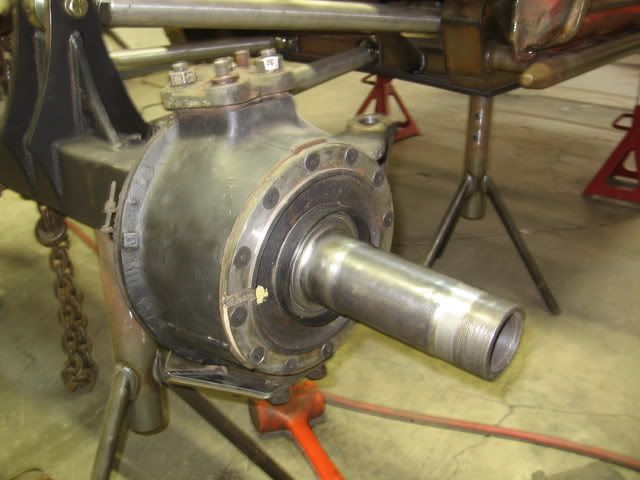
Shaving the stud heads for clearance and using flat head cap screws in the knuckle side correct? I hate flat head cap screws but not many easy options to avoid using them from what I saw when I was at this stage. Looks good! When can you forsee firing it up?
Comment